
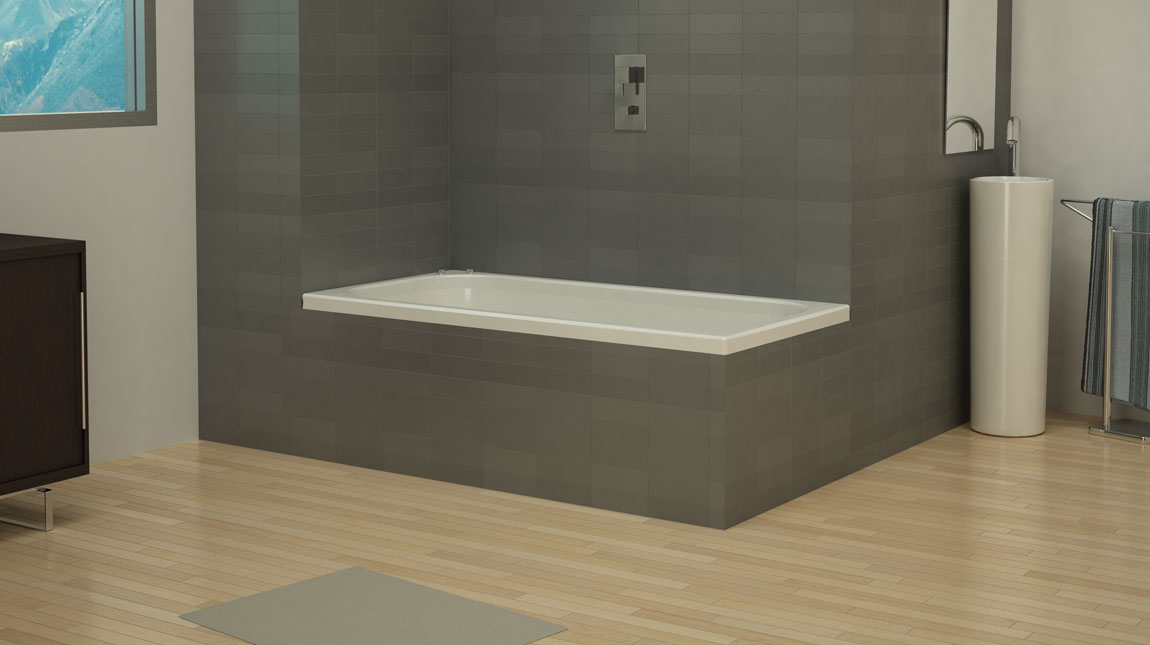
A bathtub can offer a nice relaxing bath, but a shower uses less space and is more practical thanks to its easy and secure access.
In recent years, we have become less fussy and more eco-friendly due to general circumstances, this has led us to make a few changes in the way we plan our products. We mainly focus on bathtubs and showers. There are many advantages of changing your bathtub to a shower; at Mundilite we are willing to help you change your bathroom.
Índice de contenido
Steps to take
Before getting our hands dirty, we need a design. So grab a pen and paper and create a sketch. Make sure you already know what type of shower you prefer. At Mundilite we have several models such as the different lines of ST-One Smooth, framed, drying area, angular, panels and others such as Next, Wind and Classic. With panels, changing the bathtub for a shower will be much easier.
Then calculate all the materials you will need. Always try to keep a notebook with you to make calculations, drawings and blueprints, so if something doesn’t fit or doesn’t convince you, you can swap things around. Remember that the procedure will produce a large amount of debris and you will probably need a skip.
Everything ready!
Step 1. Removing the baths taps
- Protect the floor of the bathroom: Use cardboard to avoid damaging the tiles and other nearby items such as doors, cabinets, etc., protect them if necessary, once they are damaged, they are damaged.
- Close the water valves: Cut off the bathroom hot and cold water valves or the entire house water valves if the bathroom doesn’t have its own.
- Remove the old taps: Unscrew the old fixtures and clamping mechanisms of the shower rod, this will be done differently depending on the model.
- Also remove the drain: Unscrew the fixed drain valve of the bathtub. Use a screwdriver.
Step 2. Removing the bathtub
- Remove the tiles: Try using a hammer and chisel to remove one or two rows of tiles from above the bathtub. Always wear gloves.
- Remove side tiles: keep removing the tiles that cover the front and the sides of the bathtub. (If there are any)
- Continue to use a hammer and chisel: Break the seal that surrounds the bathtub in order to extract it without difficulty.
- Remove the bathtub: Ask for help from someone, if possible, especially if the tub is old foundry.
It’s time to collect all the debris and to think about the next step.
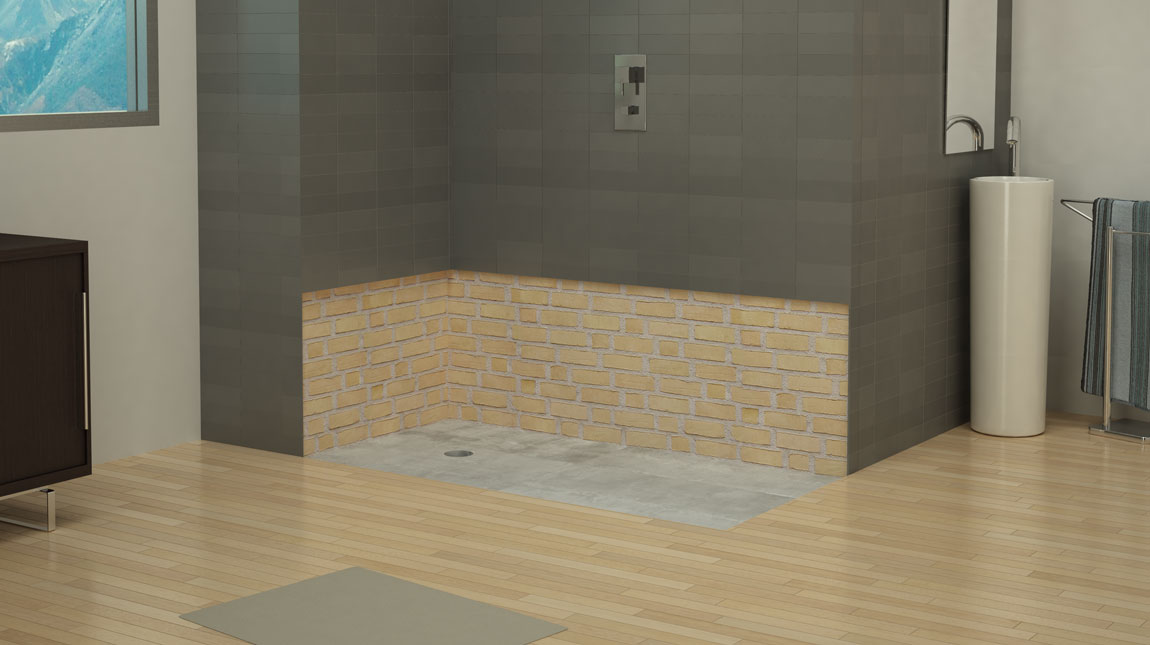
Step 3. Preparing the surface and the drainpipe
- Protect the drainpipe: Very important! Thoroughly clean the drain of the bathtub, which will serve to make connections with the shower valve. Cover with a cloth, while you finish cleaning the rubble and make the plinth.
- Prepare the ground for the shower plate: Make a new plinth if necessary to get a flat support bracket. Mix sand and grey cement or purchase dry mortar ready to mix with water alone.
- Make sure the surface is perfectly levelled, it is essential for correct placement of the shower tray. Note that the hole for the drain valve must have enough space to make the connections.
- Measure the space for the shower tray: Typically it will not match the place where the bathtub drain was. Note that shower trays have different points of drainage, depending on size and model.
- Connect the pipes: Make pipe connections with PVC flexible pipe 40 mm in diameter, it will be easier to make small corrections regarding the height rather than the rigid option. Measure the piece you need and cut with a cutter key or a hacksaw with an appropriate blade.
- Clean with PVC cleaner and glue all joints with glue.
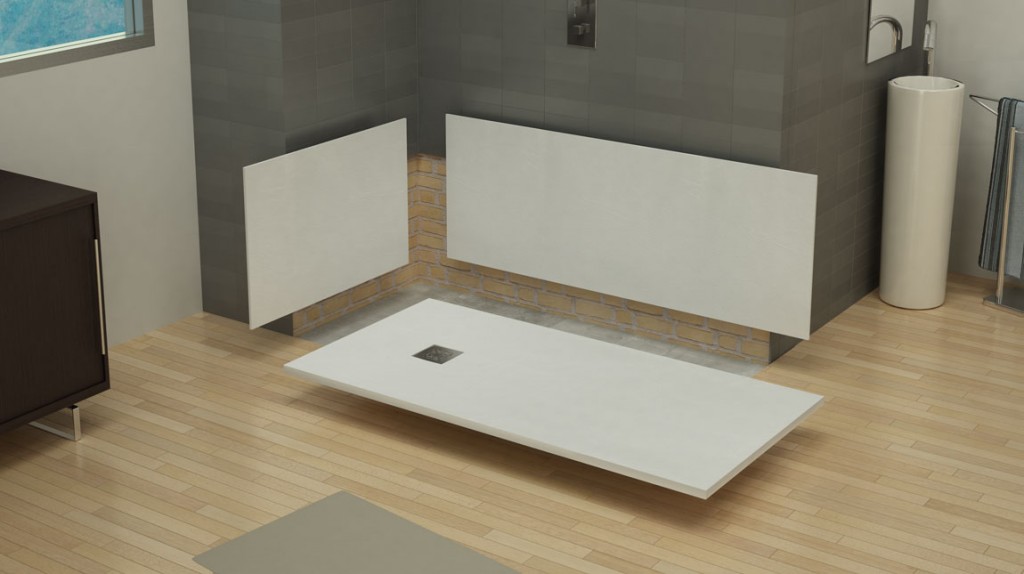
Step 4. Placement of the shower tray and waste trap
- If the old drain connection runs directly to a general drain from the bathroom, there is no need to place a siphon valve to prevent odours. On the contrary if the evacuation tube runs directly to the general downspout of the house itself you will have to place a siphon valve.
- Build brick support: On the prepared and levelled surface, place the shower tray again. Mark with a pencil around the whole visible perimeter. Leave a few millimetres for expansion between the tray and the wall; then overlay it with silicone to prevent water leakage. Also, mark the position where the valve hole is, so you know where it is. This way you can install the valve in after sealing the PVC pipe joints .Take off the shower tray and place four pieces of 10 cm solid brick as supports. Fix with mortar and levelling paste. Finish off by completing all sides. Prepare a nice base to place your tiles later on.
- Shower tray adhesion: Place mortar, glue or cement over the base to fix the shower tray.
- Place the shower tray
- Levelling and adjusting the shower tray: Check the level and adjust, tapping the edges with a rubber hammer. It is important that it is level, since the platform dish has its own drainage.
- Place the valve: place on the seal and then fix of the valve.
- Place the tiles
- Clean the surface: Remove the remaining debris and dust, which could interfere after the sealing.
- Cover the joints correctly Stretch a bead of silicone with a gun along all joints between the tray and the walls.
- Properly seal the joints: press with your finger, previously dipped in water, along the whole line of silicone to seal the joints and match the joins. Remove the excess.
- Place the taps.
Step 5. valve connection
The last step for a perfect installation. There should be no leakage. All valves, regardless of the type of shower tray; normal, flat, ultra-thin, plate work … they all have a similar connection.
- Connect the valves: Place the threaded ring and gasket seal seat in the PVC drainage pipe, rigid or flexible. insert the tube into the valve. This should go as far as possible into the valve outlet. This doesn’t have to be glued. Tightly screw the ring to the thread of the outlet valve. The connection is identical whether the valve will be raised or flush to the floor, flat dish or slimline shower.
After you have installed the shower tray all you have to do is choose an appropriate and consistent screen that fits with your bathroom design. At Mundilite we have a variety of shower screens and we can even make them to your measurements. You can also customize the screen with digital design or decoration. (LINK)
The benefits of changing to a shower are many: safety, comfort, saving water and energy, more visual space and accessibility, Now you know us! Its time to get started!